Tutorial Part 2: The Power of Relations
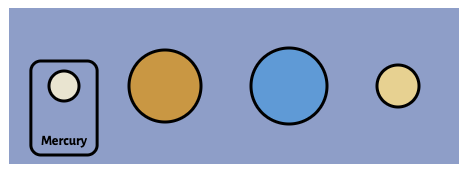
In the last tutorial, we got a brief introduction to Bluefish: its marks, relations, and declarative references. In this tutorial, we'll see just how expressive relations can be. We'll progressively modify the label in the last tutorial until we've gone from this:
import "./styles.css";

document.getElementById("app").innerHTML = `
<h1>Hello world</h1>
`;
to this:
import "./styles.css";

document.getElementById("app").innerHTML = `
<h1>Hello world</h1>
`;
Along the way we'll encounter some other Bluefish relations: Arrow, Align, and Distribute. We'll also gain some more experience using name and Ref.
Flip label direction
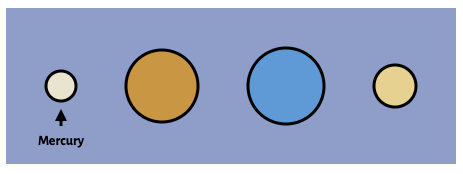
One thing we can do without changing our spec very much is move the label below the planet by simply reversing the order of StackV's children:
// ...
Background({ padding: 40, fill: "#859fc9", stroke: "none" }, [
  StackV({ spacing: 30 }, [
    Text("Mercury"),
    Ref({ select: "mercury" }),
    Ref({ select: "mercury" }),
    Text("Mercury"),
  ]),
]);
// ...2
3
4
5
6
7
8
9
10

Change Background to Arrow
We can also change how we connect the label to the planet.
First, we'll denest the Background relation from the StackV.
// ...
Background({ padding: 40, fill: "#859fc9", stroke: "none" }, [
StackV({ spacing: 30 }, [
  Ref({ select: "mercury" }),
  Text("Mercury"),
  Text({ name: "label" }, "Mercury"),
]),
Background({ padding: 40, fill: "#859fc9", stroke: "none" }, [
  Ref({ select: "label" }),
  Ref({ select: "mercury" }),
])
// ...2
3
4
5
6
7
8
9
10
11
12
Notice that this doesn't change our diagram! It just changes our spec so that we can make other kinds of edits.
Now, instead of using a Background, we can use an Arrow relation:
// ...
StackV({ spacing: 30 }, [Ref({ select: "mercury" }), Text({ name: "label" }, "Mercury")]),
  Background({ padding: 40, fill: "#859fc9", stroke: "none" }, [
  Arrow([
    Ref({ select: "label" }),
    Ref({ select: "mercury" }),
  ]);
// ...2
3
4
5
6
7
8

Distribute the label from the planets
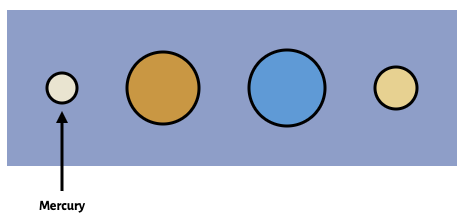
Right now the label is inside the planets Background, but what if we want to place it outside? We could change the StackV spacing until it's large enough, but we would have to manually update it whenever we changed the Background or the sizes of the planets. Instead, we'll offset the label from the planets Background directly.
To do this, we first have to split StackV into its two constituent parts: vertical Distribute and horizontal Align:
StackV({ spacing: 30 },
Distribution({ direction: "vertical", spacing: 30 },
 [Ref({ select: "mercury" }), Text({ name: "label"}, "Mercury")]),
Align({ alignment: "centerX" }, [ Ref({ select: "mercury"}), Ref({ select: "label"})]) 2
3
4
This refactor doesn't change the diagram at all, but it does let us retarget the Distribute so we n offset it from the Background instead of the Mercury Circle. To do this, we'll first label the planets Background:
Background({ padding: 40, fill: "#859fc9", stroke: "none" },
Background({ name: "planets", padding: 40, fill: "#859fc9", stroke: "none" }, 2
Then we'll change the selection in the Distribute:
Distribution({ direction: "vertical", spacing: 30 }, [
  Ref({ select: "mercury" }),
  Ref({ select: "planets" }),
  Text({ name: "label" }, "Mercury"),
]);2
3
4
5

Wrapping up
Huzzah! We modified the label in our planets diagram. Along the way we used Arrow, Align, and Distribute, three important Bluefish relations. We've also gained more experience naming elements and selecting them with Ref. Your final code should look like this:
import "./styles.css";

document.getElementById("app").innerHTML = `
<h1>Hello world</h1>
`;
